Creating an Image Gallery or Slideshow
The ALICE Directory supports swipeable image galleries and fading slide shows. This guide will walk through the configuration and setup process using the widgets portal.
- Log into the Widget Portal using your ALICE Portal admin user credentials - https://widgets.alicereceptionist.com/madmin/
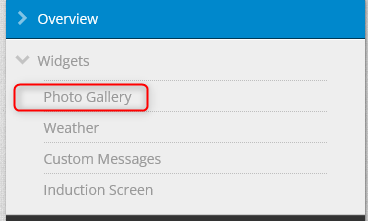
- Click on Widgets.

- Select Photo Gallery.

- Click on Add a New Gallery.

- Set the following fields:
- Provide a name in the "Gallery Name" field.
- Put the number of seconds between images using the "Speed" field.
- Utilize numeral characters only.
- 10 seconds is the recommended default
- Choose whether this gallery will be swipeable or an automatic fading slide-show using the "Slider" setting.
- "Yes" for a swipeable gallery.
- "No" for an automatic fading image slideshow.
- Select SAVE to finalize the settings.

- Select Upload an Image and use Window's File Explorer to select the image.
- Image files must be smaller than 1.9 MB.
- Assign a numeric value in the "Display Order" field to determine which images appear in which order. The lower numbered images are displayed first.
- Set the "Status" to "Live" for it to appear on the gallery. "Not Live" will hide the image.
- Select Add

- Once finished, a confirmation will appear. Select Add an Image to upload more images.
- Once all the images have been uploaded, navigate back to Photo Gallery.

- Find the gallery created on the list. The "Search" feature can be used to narrow results.
- In the column with "Link" listed, right-click and copy the link.
- Use the URL to set up a Menu Button in the ALICE Configuration tool, or configure it to an Employee, Department, or Company contact card in the ALICE Portal.

